When it comes to finding the perfect solution for tricky outfits—think backless dresses, plunging necklines, or strapless gowns— breast tape has become a game-changer. Gone are the days of struggling with awkward bras that don’t quite work for your look. With lifting breast tape, you can achieve a seamless and supportive fit that works for virtually any outfit.
If you’re new to breast tape, don’t worry! This beginner’s guide will walk you through how to apply breast tape, from choosing the right tape to mastering techniques to lift breasts with tape like a pro.
Why Use Breast Tape?
Breast tape isn’t just a replacement for a bra; it’s a versatile tool that helps you achieve a comfortable, lifted, and natural look. Whether you’re wearing a form-fitting dress or an edgy side-cut gown, breast tape offers these benefits:
- Customizable Support: You control the lift and support based on your needs.
- Invisible Finish: Perfect for outfits where bras aren’t an option.
- Versatile Styling: Works for all kinds of necklines and designs.
- Inclusive Fit: Designed for all breast sizes and body types.
Now, let’s break down how to tape breasts for lift in just a few simple steps.
Step 1: Choose the Right Breast Tape
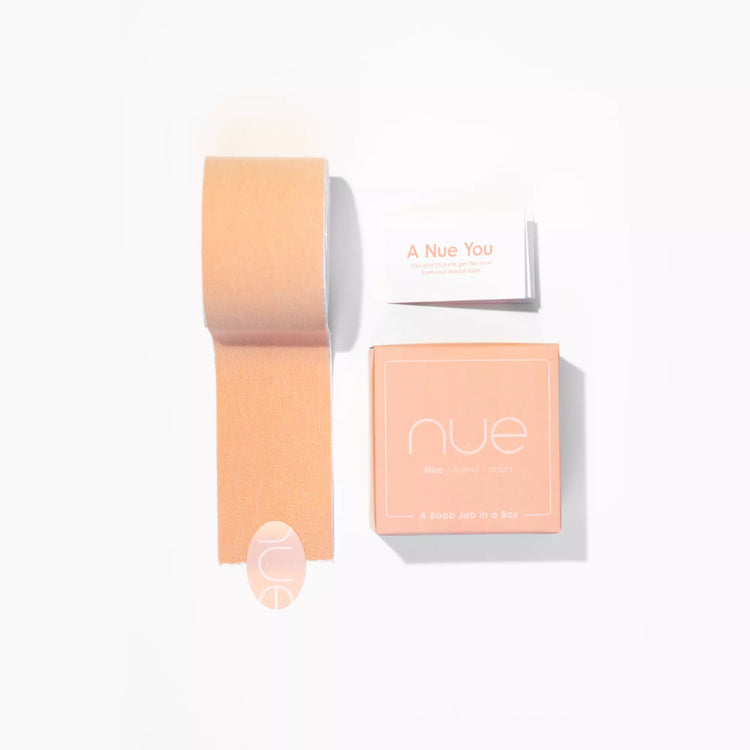
When it comes to tape for breasts, not all options are created equally. A high-quality option like Nue’s Breast Tape offers:
- Hypoallergenic and latex-free materials.
- Sweatproof and waterproof adhesive for all-day wear.
- Shades that match various skin tones for an invisible look.

Step 2: Prepare Your Skin
A smooth, clean surface is essential for the tape to adhere properly. Here’s how to prep:
- Clean Your Skin: After your shower, be sure to skip all body lotions and oils that can affect the tape's adhesive. If your skin is extra hydrated, you can use an alcohol wipe to throughly prep your skin.
- Dry Thoroughly: Pat your skin dry with a towel—moisture will affect the tape’s adhesion.
- Test for Sensitivity: If it’s your first time, apply a small patch to ensure you don’t experience irritation.
Step 3: Gather the Right Tools
You’ll need the following items for a seamless application:
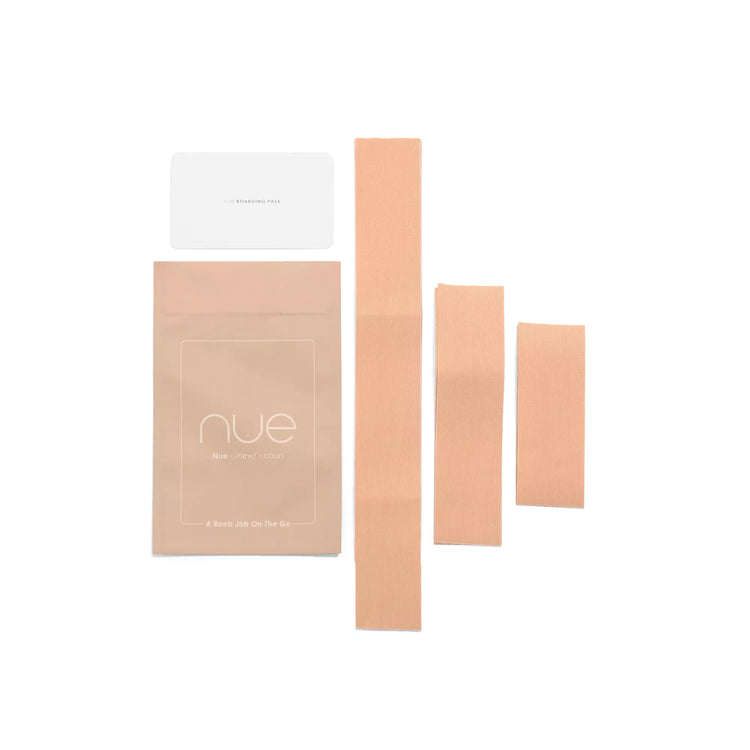
- Breast Tape: Select the shade closest to your skin tone for a seamless application.
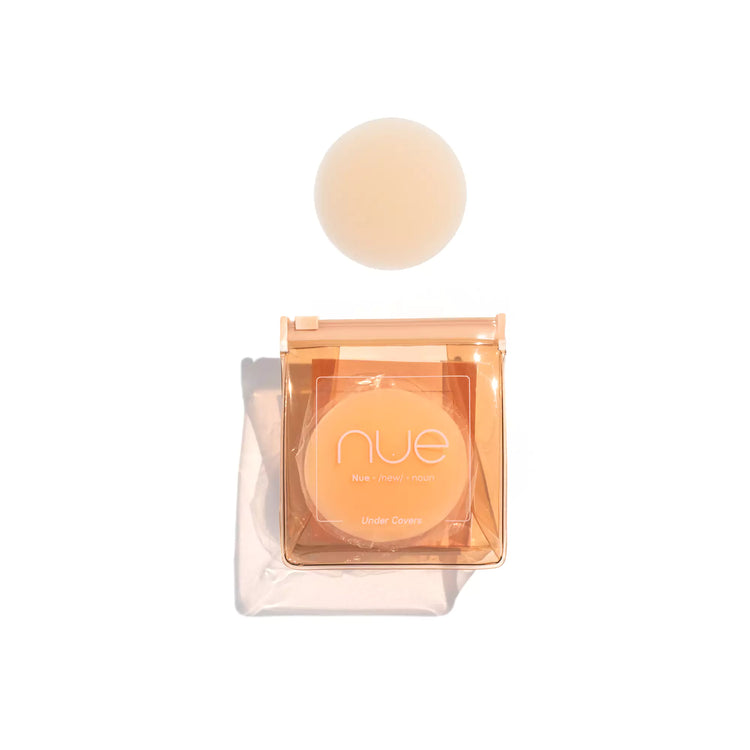
- Nipple Covers: Although this step is optional, it could be a great option for those who tend to be more sensitive.
- Scissors: To trim the tape as needed.
Pro Tip: Nue’s breast tape bundles include nipple covers for added convenience.
Step 4: Mastering Taping Techniques
Depending on your outfit, you can use different tape breasts methods to achieve the look you want. Here are a few popular techniques:

1. THE CLASSIC VERTICAL LIFT
Perfect for plunging necklines or strapless dresses, this method lifts the breasts without visible tape.
- Cut strips of tape about 12–15 inches long.
- Starting below your breast, place the tape at the base and pull it upward, sticking it above your shoulder.
- Repeat with 2–3 strips for added support.

2. THE CROSSOVER TECHNIQUE
Ideal for deep V-necklines, this method enhances cleavage while providing lift.
- Cut two strips of tape, one for each breast.
- Starting at the outer edge of the breast, pull the tape diagonally across to the opposite shoulder.
- Repeat with additional strips as needed for secure coverage.

3. THE SIDESWIPE
Designed for side-cut dresses, this method ensures lift and coverage without showing the tape.
- Cut a strip of tape about 10–12 inches long.
- Starting from the outer side of the breast, pull the tape across toward the center of your chest.
- Add extra strips for more lift or to secure the edges.

4. THE BANDEAU WRAP
Great for outfits with no defined neckline, this method provides all-around support.
- Cut strips long enough to wrap around your chest.
- Starting below your breasts, wrap the tape horizontally, lifting as you go.
- Secure the ends under your armpits for a snug fit.
Pro Tip: Always tape in front of a mirror for better precision.
Step 5: Adjust and Secure
Once your tape is in place, gently adjust it to ensure everything is secure and comfortable. If you notice any wrinkles or uneven areas, smooth them out with your fingers.
Step 6: Removing Breast Tape
While applying tape is simple, removing it properly is just as important to protect your skin.
- Use Oil or Lotion: Gently apply baby oil or lotion over the tape to loosen the adhesive.
- Peel Slowly: Start at one corner and peel the tape off slowly to avoid irritation.
- Clean Your Skin: Wash the area with warm water and soap to remove any residue.
Pro Tip: Nue’s breast lift tape is designed for easy removal without damaging the skin.
Tips for a Secure and Comfortable Fit
- Double Check The Fit: Adjust the tape before finalizing your look to ensure it’s comfortable.
- Avoid Stretching Too Tight: Overstretching the tape can cause discomfort or reduced support.
- Layer for Larger Sizes: If you need extra support, layering multiple strips of tape can help.
Common Mistakes to Avoid
- Skipping Prep: Failing to clean your skin properly may cause the tape to lose its grip.
- Using Too Much Tape: Less is often more when it comes to achieving a natural look.
- Applying Tape in a Hurry: Take your time for a smooth and secure application. Once you've gotten the hang of it, you'll fly through the process.
Get A Flawless Fit Anywhere
Taping your chest for a dress might seem intimidating at first, but with the right tools and techniques, it’s a breeze. By following these steps and experimenting with various methods, you’ll soon become a pro at using breast tape for lift and support.
For an outfit-transforming experience, check out Nue’s lifting breast tape, designed to help you feel confident and comfortable in any look.


